User Form
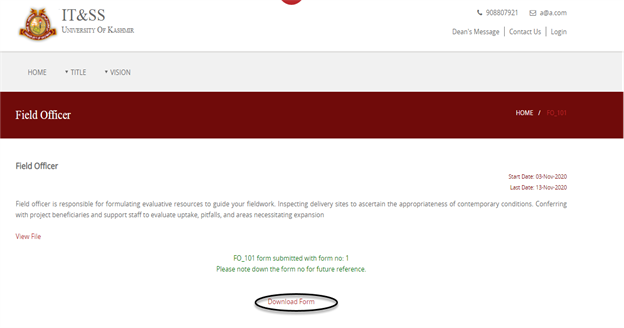
User form is a feature in Content Management system, which allows the department to create a form for gathering any kind of data from the users on the website
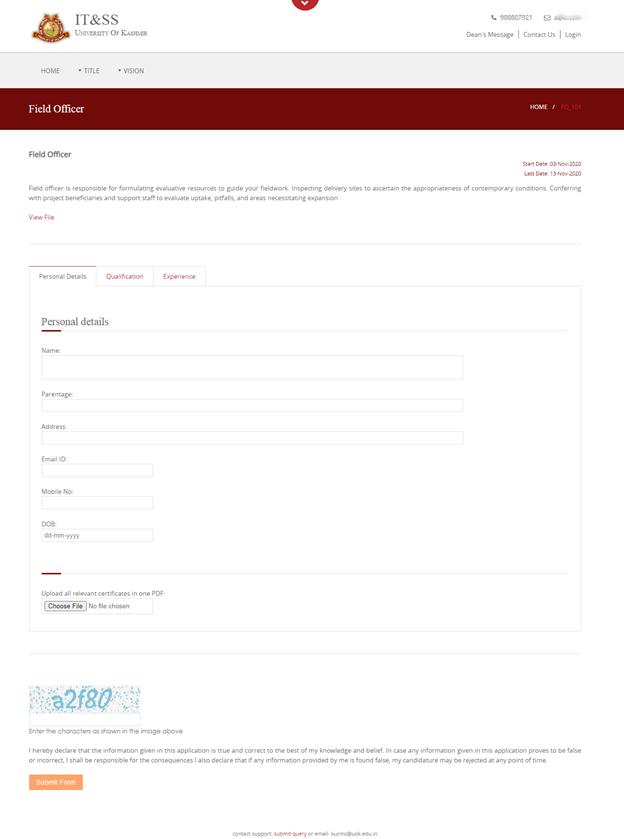
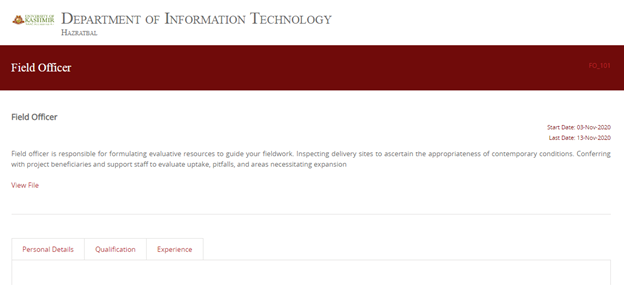
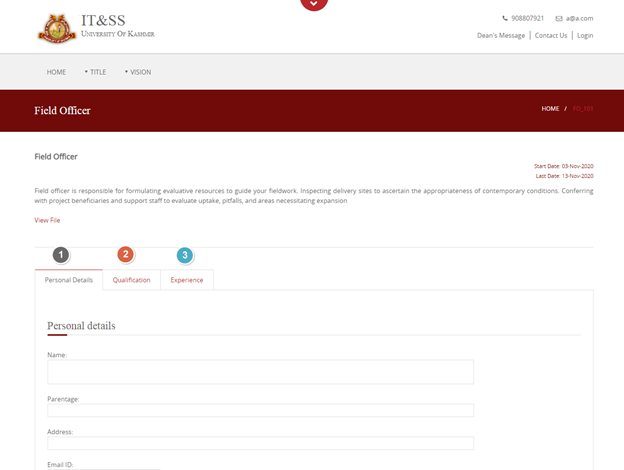
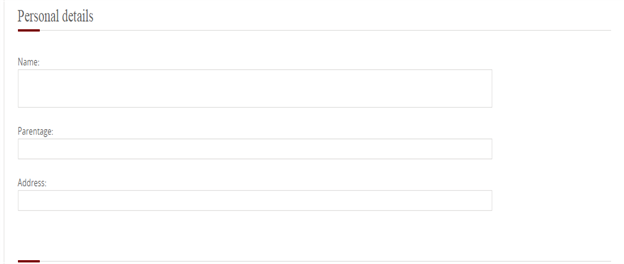
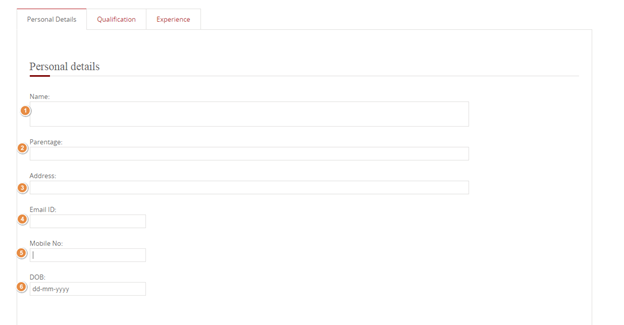
Screenshot of a form that has been created using user form module in CMS.
Steps to create User form on the website
1) Select User Form Screen
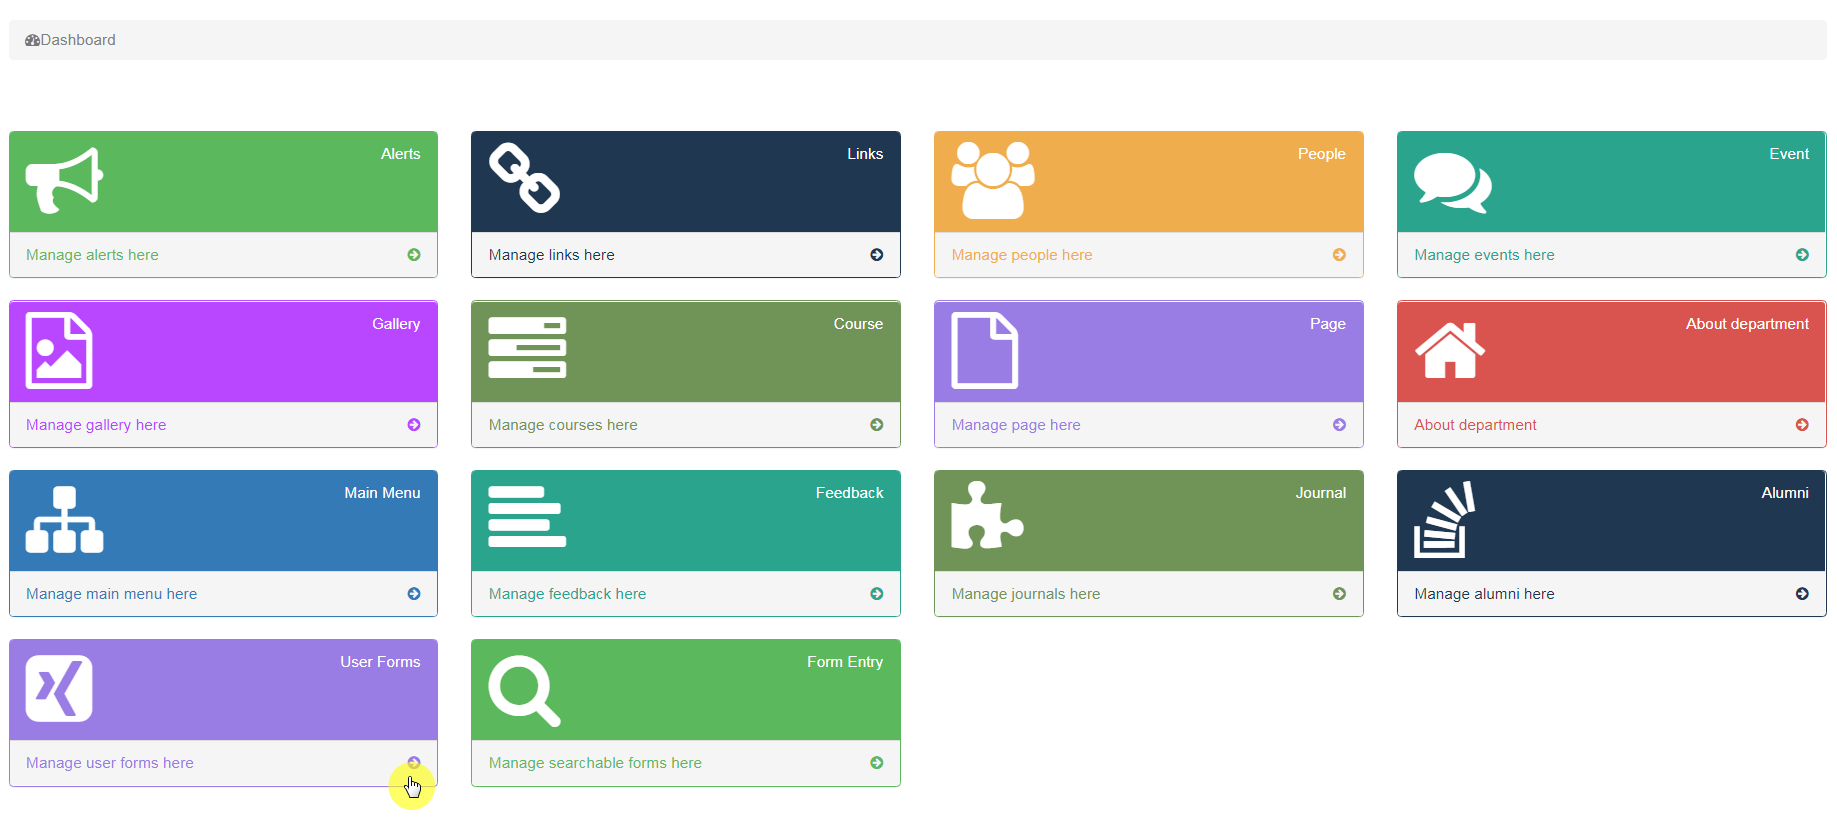
Once you have Logged in, You will be able to see the Dashboard.
Click on the highlighted arrow pointer, to go to User Form screen.
2) List of forms
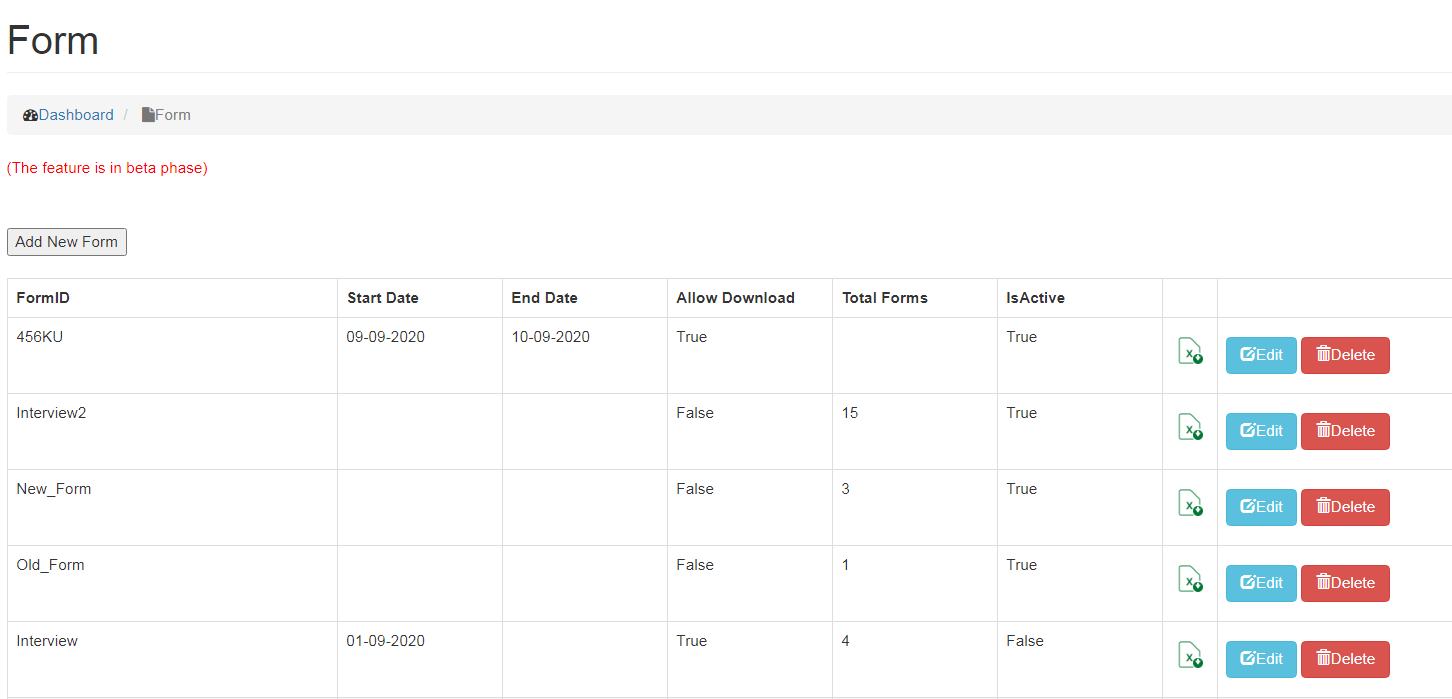
After clicking on User form option, you will see a screen with the list of forms that have been added on the website.
3) Add new form
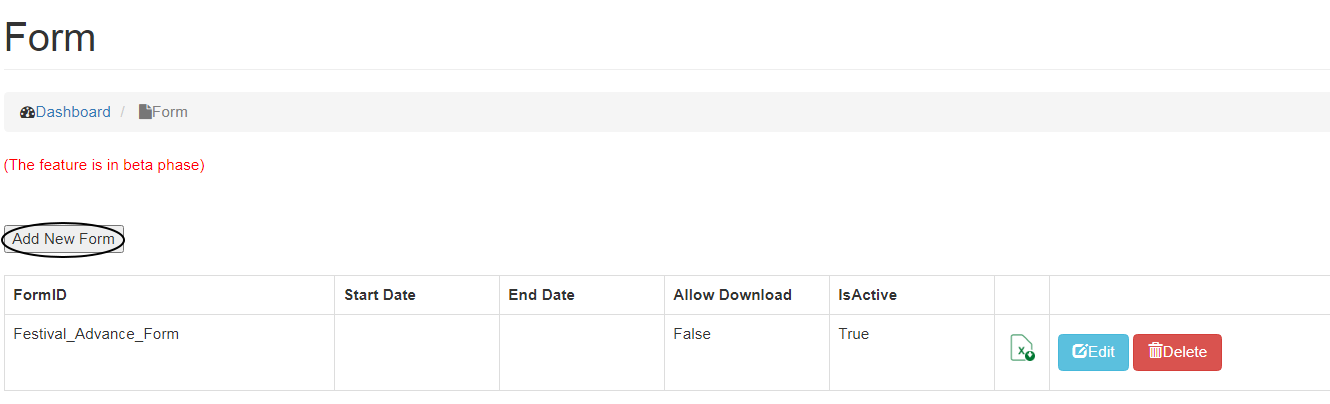
If you want to create a new form on the website, click on Add New Form button as shown below.
4) Form details
After having clicked on add form, you will see a screen with details that needs to be filled including:
- Form ID*
Mention the form Id. It should be brief with no spaces.
- Title*
Name the Form
- Description
In Description, you can provide an introduction about the form.
- Is Active
Whether you want it to be visible on the website or not
- Start Date*
Provide start Date of the form, date from which applicants can apply for the form.
- End Date*
Mention End Date of the form, till the time applicant can apply for the form.
- File
You can upload a notification by clicking on choose File button.
- Allow Download
This option enables applicants to download their application form, if Allow Download box is checked.
- Is Generic
Check Is Generic box, if you want to use your departments Name and logo. You can Provide name and address of the organization and upload logo as well.
- Declaration Message
Write the declaration message of the form in the section.

- Report Header
It is used as a header in the application form that is downloaded by the applicant. Image can be uploaded by clicking on choose file.
- Report Footer
It is used as a footer in the application form that is downloaded by the applicant. Image can be uploaded by clicking on choose file.
- Tab1, Tab 2 , Tab 3 & Tab 4.
Tabs are used to break the form into various sections. It is used if a lot of information is required to be filled in the form.
Screenshot of the form details is shown below.
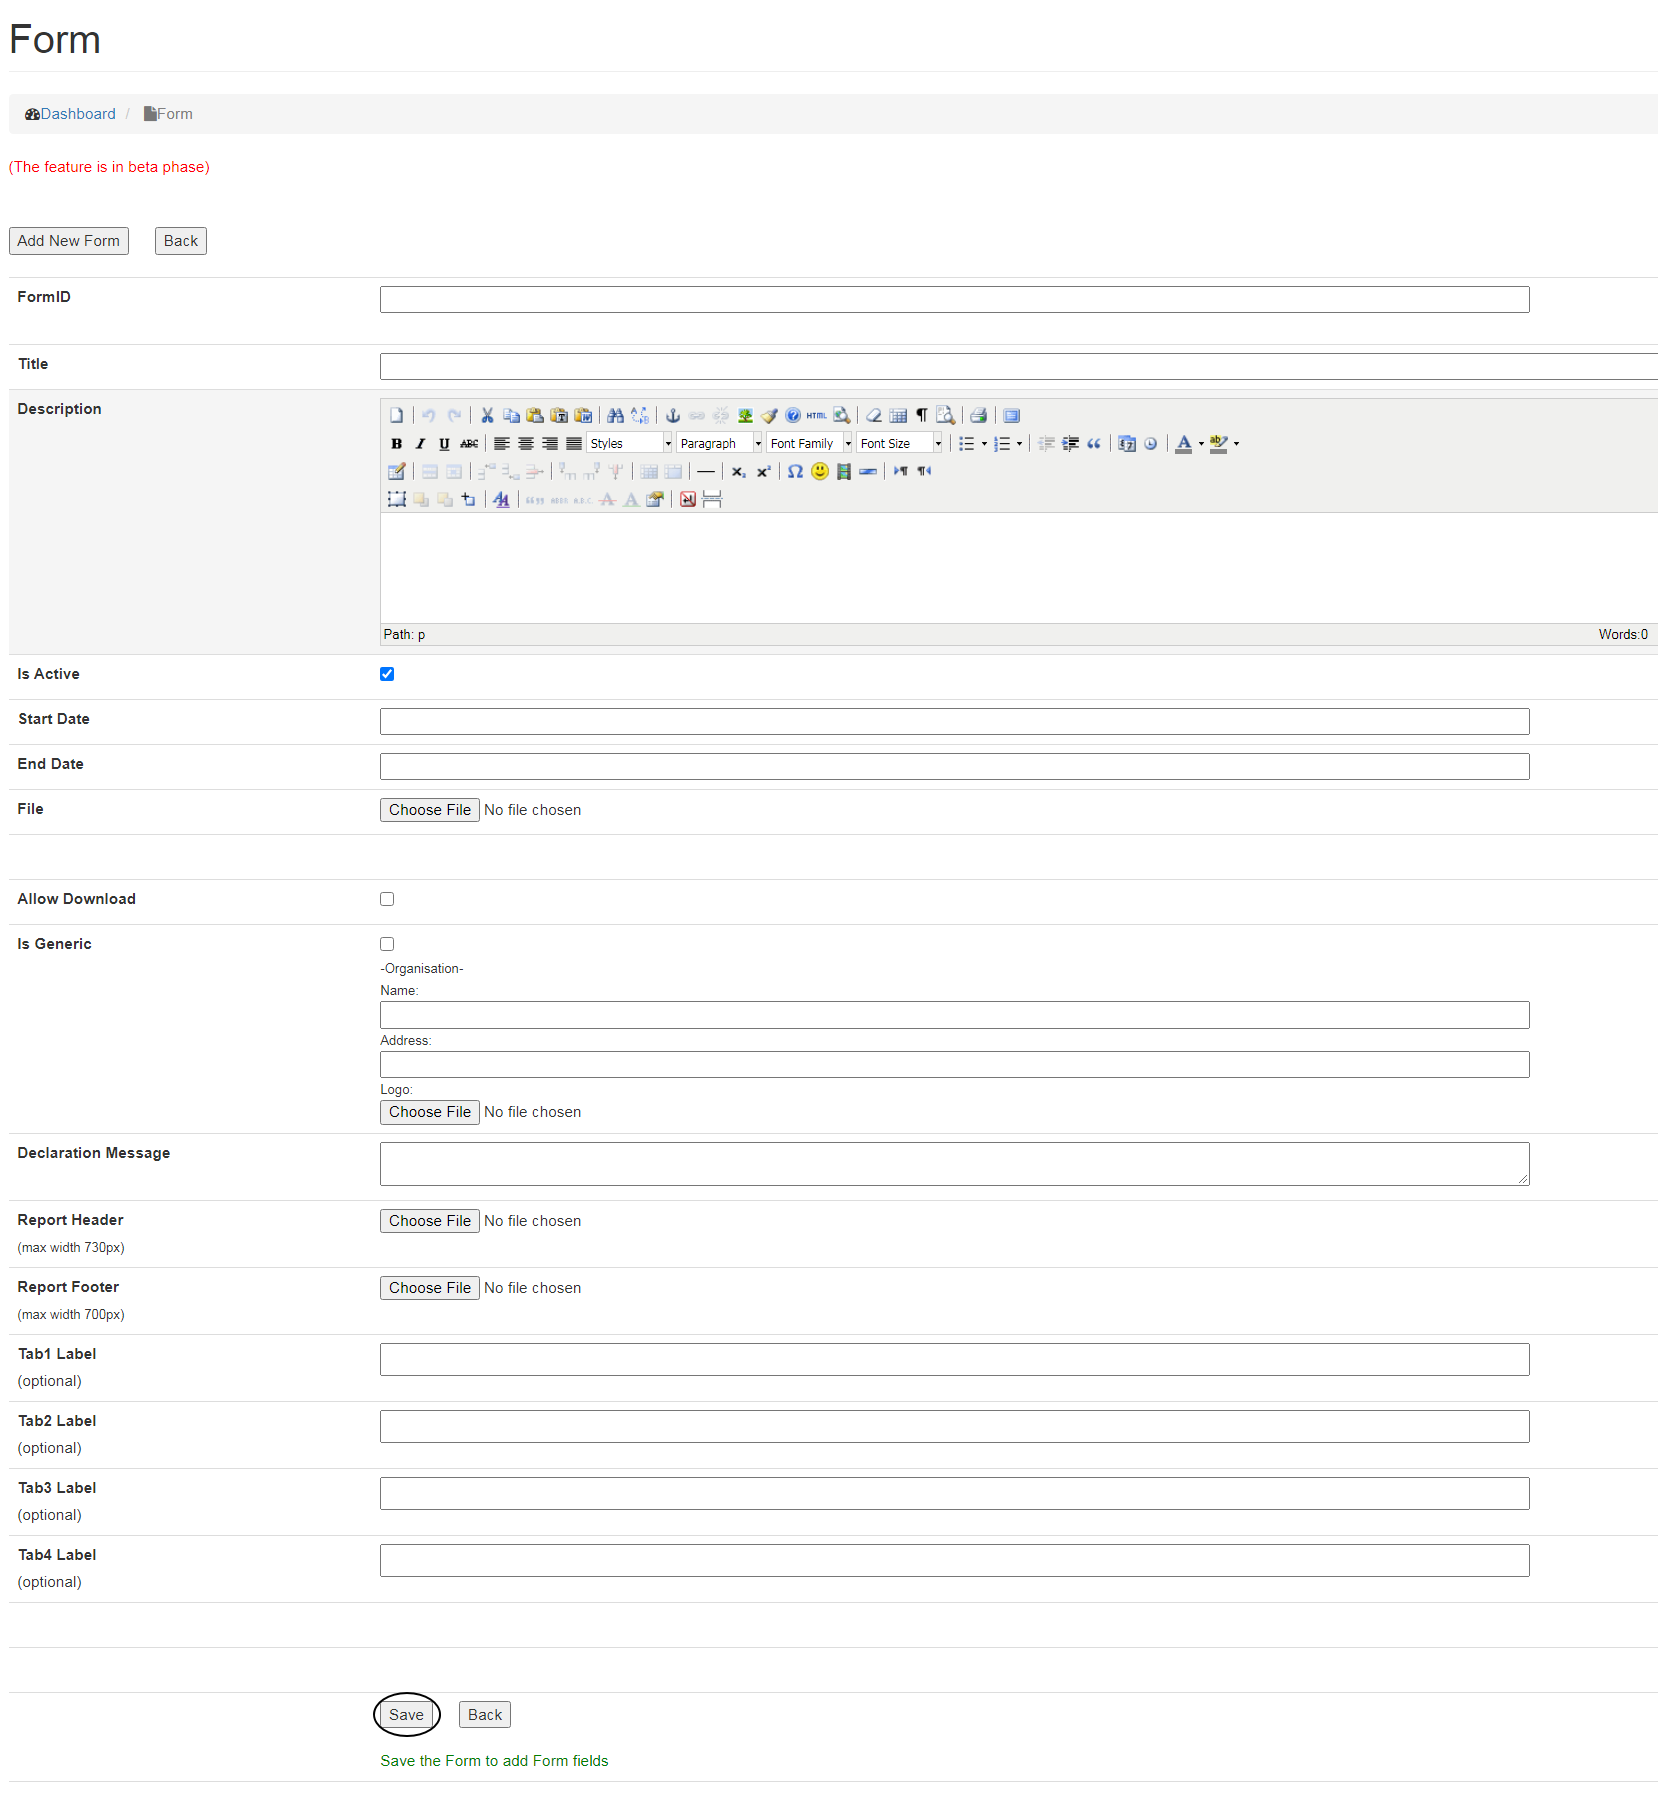
Once all the details are entered, click on Save button to add fields to the form.
After saving the form details, you will see following options:
- Preview
Preview is used to view the form (how it would appear to a user).
- Download forms in Pdf
All the submitted forms will be downloaded in a single PDF file.
- Download form data in excel
All submitted Forms data will be downloaded in excel sheet, once you click this link.
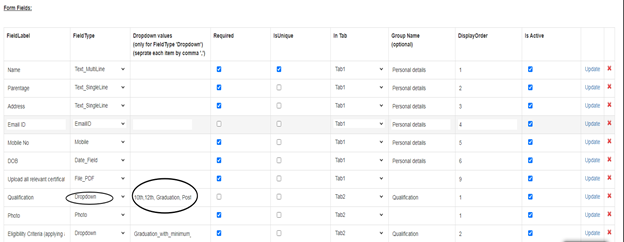
Form Fields:
Once you have saved the form details, Form Fields will appear at the bottom of the screen, in order to add various fields to the form.
- Field Label
You need to provide name of the field. e.g Name, Address etc.
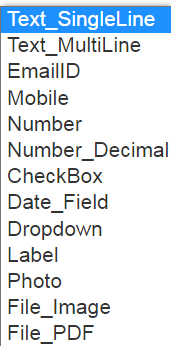
- Field Type
Select the appropriate field type from the drop down menu.
- Drop down values
This option can only be used if field type is Dropdown and each item of the drop down must be separated by commas.
- Required
Check the box if a particular field type is required.
- Is Unique
Check the box if the field value must be different for everyone. i.e it should be unique for the whole form data.
- In Tab
Mention the Tab in which the field is to be placed.
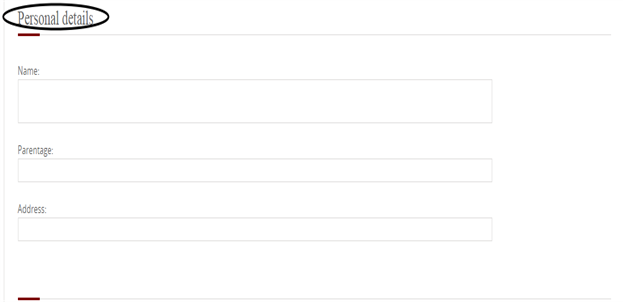
- Group Name
This is for grouping or clubbing fields under one heading. e.g Name, Address and Parentage has been grouped under Personal details (Group Name) in the image shown below.
- Display Order
Display order is the order of each field with respect to other fields as shown below.
- Is Active
UnCheck the box, if you do not want to make the field visible on the website.
Note: Make sure to click on Save/Update button of a line each time you make/update an entry into line otherwise the changes made to this line will be lost.

Cloning form details
You can clone the fields of an existing form to a newly added form. If the field is added to a newly added form this option is no more available to that form.
To clone a form fields:
- Select the form name from the drop down menu, fields of which you want to clone and
- Click on Clone form details.

Editing /Deleting User form
To Edit User form details,
- Click on Edit button, as shown below.
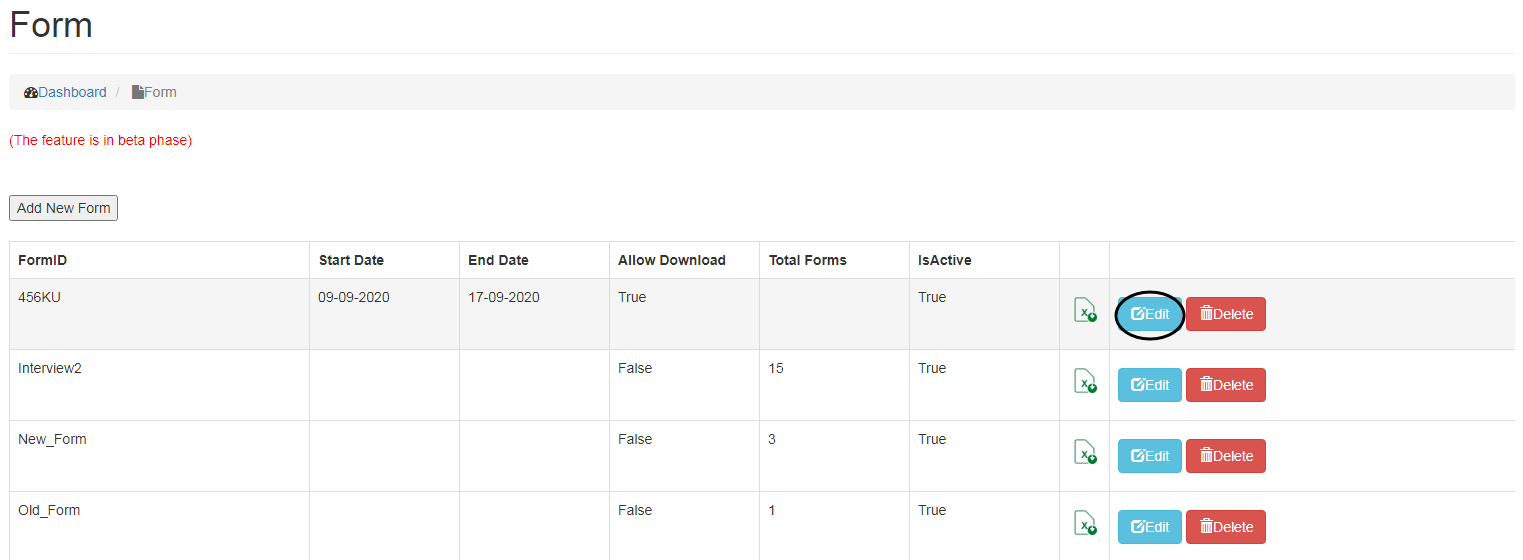
- Make changes and click on Update button.

- To Delete a form, click on Delete button as shown below.
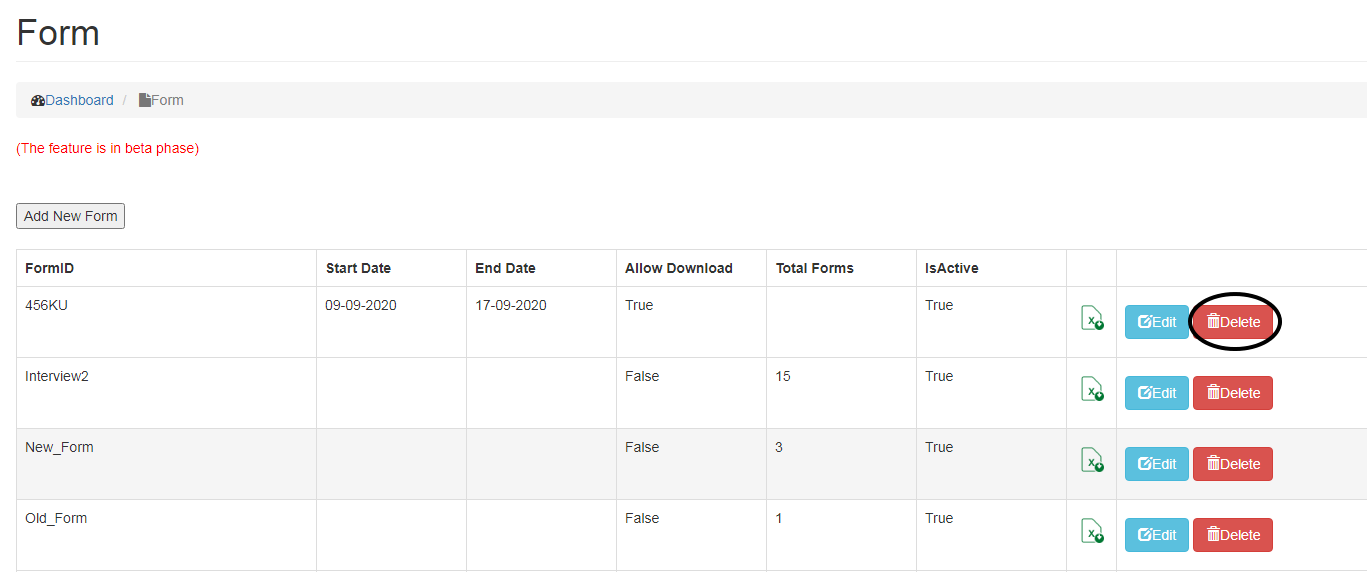
Note: You wont be able to delete a form, if any user has been submitted a form against this Form.
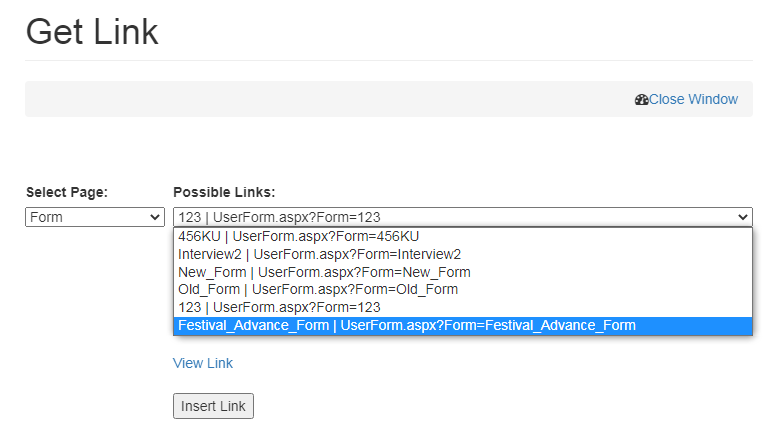
Linking form to the website
Form can be linked to Main Menu by following the steps mentioned below;
- Go to Main Menu and select the desired location wherein you want to link the Page,
- Click on Get Local link, select Form from the select Page drop down menu,
- Choose the name of the form that you want to link from the Possible links section.
- Click on Insert Link.
Created with the Personal Edition of HelpNDoc: Single source CHM, PDF, DOC and HTML Help creation